Recycling a MacBook Pro top lid into a glowing frame
This winter, I managed to complete a project I wanted to do for a pretty long time. In 2017, I had a car accident and my MacBook Pro was heavily damaged. I could not resolve myself to just put it in the trash, so I had the idea to frame the top lid and put a small LED behind the logo to make it glow when I wanted. It was a great way for me to learn more about electronics and Arduino.
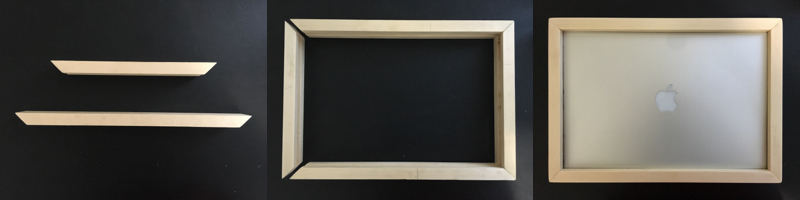
Frame
It’s common to see developers having very manual hobbies to recharge from cognitive-intensive tasks like programming. For the past years, I developed an interest in woodworking and this was a perfect opportunity to spend some time doing woodwork. I also learned to use an electric router, this will definitely prove handy in future projects!
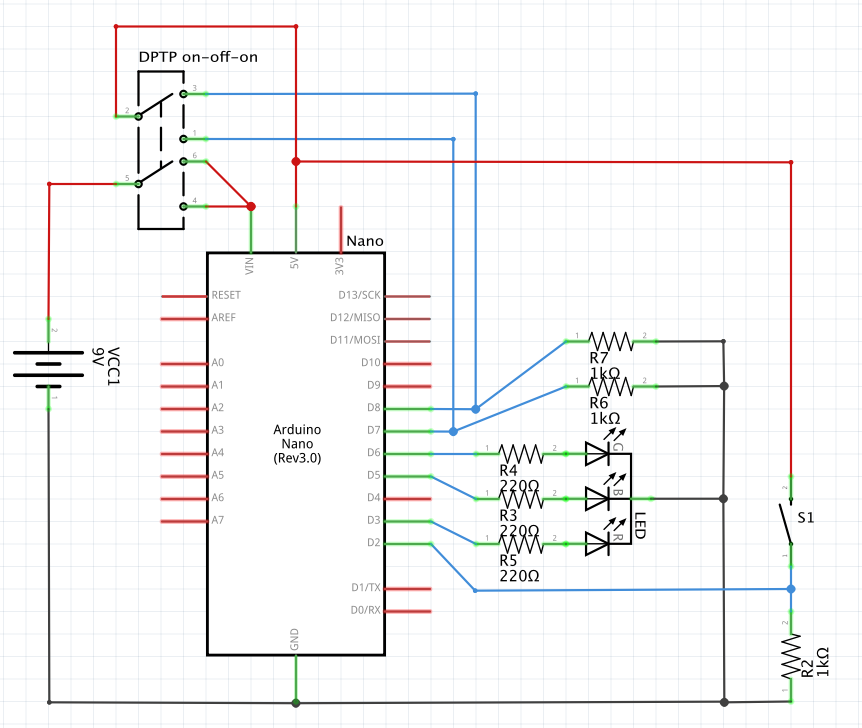
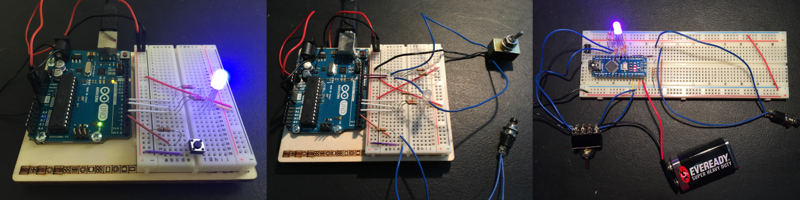
Prototypes
A while back, I bought an Arduino Starter Kit because I wanted to learn electronics and use my programming skills to create interactions with the real world. Time went by and I didn’t do more than a few projects from the learning guide and the kit is sleeping on a shelf. I was pretty excited to finally use my Arduino for a real project. I dusted it off and quickly began relearning some basic electronics concepts. I was able to build the behaviour I wanted for the LED but handling the power switch and the button to change the colour was a bit harder. I spent some time doing research and I managed to use Fritzing to draw the circuit’s schematic to show a colleague who has a background in electrical engineering. I built the first prototype on an Arduino Uno, but used a Nano on the final build to save some space.
Assembly
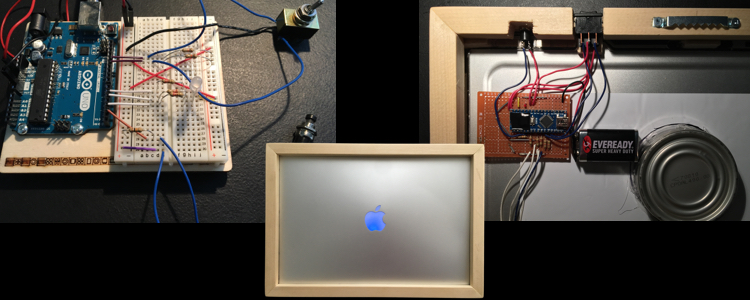
The final step was to assemble to the circuit and mount it onto the frame. I used a soldering PCB to build the definitive version of the circuit. Then, I modified the frame to host the switch and button. I had to be a bit creative when positioning the LED. I initially had a problem because light was shining on the sides of the frame when it was hanging on the wall. I settled on cutting off the bottom of an old tin can to block out the light.
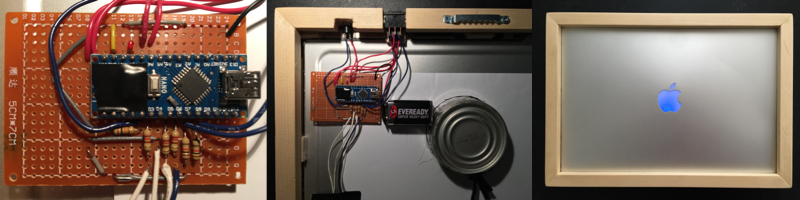
Final result
Here is a short video of the final result. Source code and all related files are available on Bitbucket.
Any comments? Hit me up @codingjames