Let's build pi-hub, Part 1

I have been wanting to play with a Raspberry Pi for quite some time and I finally found a project I wanted to do. In this Let’s build article series, I will document what I learn while building a home dashboard(weather, upcoming calendar events, pictures carousel) with a Raspberry Pi. In this first part, I will share some tips to configure the Pi to get started.
I did not want to search multiple stores and order separately the items I needed for my project, so I ordered this kit from CanaKit on Amazon. Shipping was fast, price was good and everything I needed was included in a single box(Pi 3, AC adapter, 32GO SD card, Pi enclosure and HDMI cable).
The SD Card included in the kit had NOOBS pre-installed, so it was a single click to install Raspbian, a special flavour of Debian optimized for the Raspberry Pi. After the setup wizard, the Raspberry Pi boots into Raspbian. It’s time for some configuration tweaks!
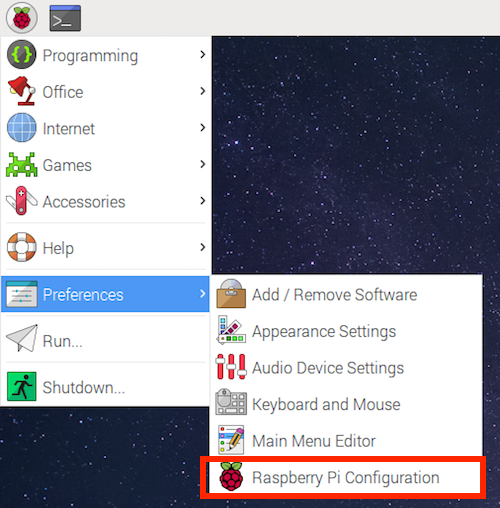
First, the Pi has a quick access configuration menu accessible from the Start button.
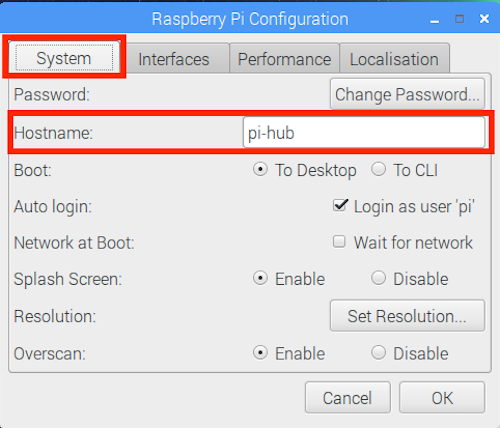
We can assign a hostname from the System tab, so our Pi will be easily reachable from the network, no need to find and remember the IP address.
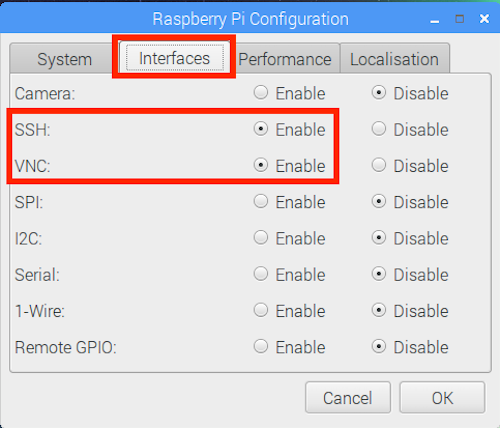
Then, we enable 2 important communication interfaces, SSH will allow us to log into the Pi through the command line and VNC offers a graphical remote desktop connection.
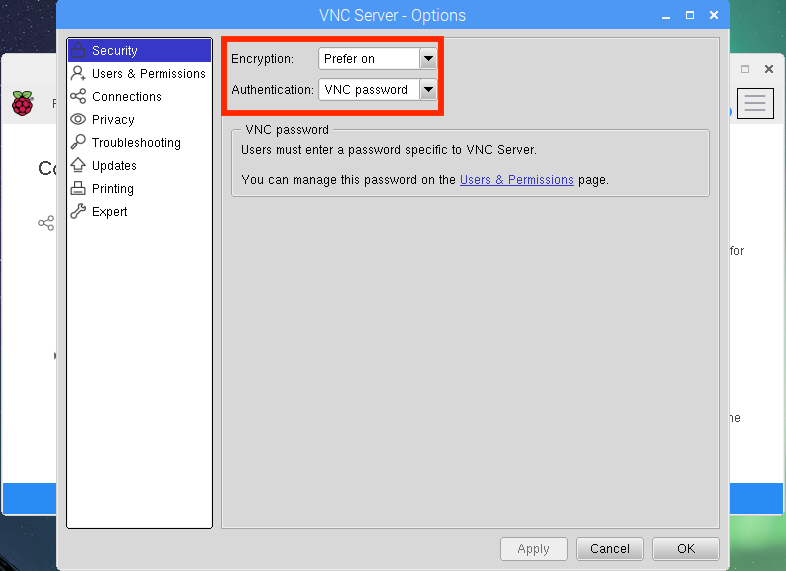
Next, we tweak VNC’s options to be able to connect from the default macOS Screen Sharing app.
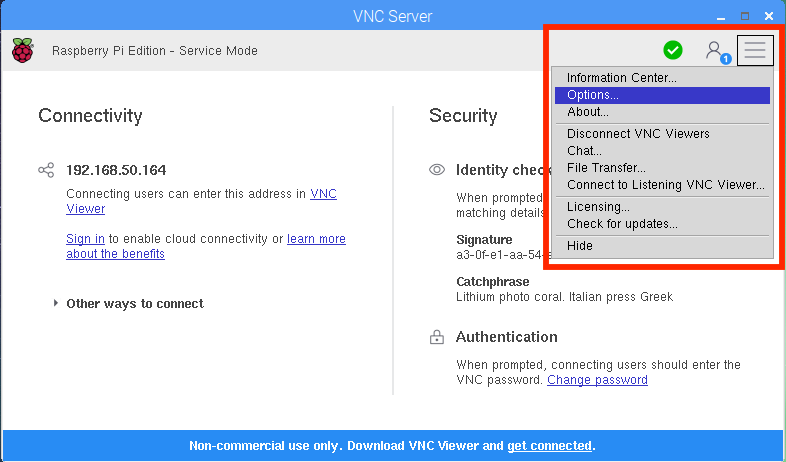
VNC’s authentication must be set to VNC password instead of UNIX to work with macOS’s app.
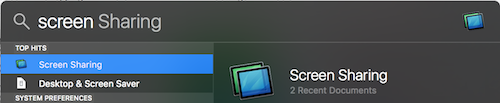
Using Spotlight(cmd + space) on your Mac, you can launch Screen Sharing, provide the hostname as specified earlier and connect to your Raspberry Pi!
The Raspberry Pi will run a web server to display the dashboard, so a LEMP stack can be configured using this link. As of July 2017, Raspbian Jessy has built-in support only for PHP 5.6. You must add an external repository to install PHP 7.
We also want the dashboard’s display to be always on, so we must override default configuration using xset. To make sure the Pi is always configured correctly, we can disable the screen’s sleep from a script executed right after the login. So, in the file /home/pi/.config/lxsession/LXDE-pi/autostart(because pi is the default user which is automatically logged in as specified in the system’s settings), we can add:
@export DISPLAY=:0;
@xset s off
@xset -dpms
@xset dpms 0 0 0
We also want Chrome to be automatically launched in fullscreen, so in the same autostart file, we add the following statement:
@chromium-browser --noerrdialogs --start-fullscreen --incognito http://pi-hub
We eventually want to be able to turn display on and off programmatically. To make sure the display is turned off, not only blanked, we must make sure the setting hdmi_blanking is set to 1 in /boot/config.txt:
hdmi_blanking=1;
This will allow us to execute simple commands to control the display:
xset dpms force on;
or
xset dpms force off;
Don’t forget to set the display environment variable if you execute this command through SSH or CRON from a user without any desktop environment!
export DISPLAY=:0;
These steps prepared the Raspberry Pi for the most interesting part of the project, developing the web app which manages the dashboard!
Any comments? Hit me up @codingjames